Summary
In this guide you will learn how to insert one or more pictures of an item.
How to insert one or more pictures of an item
Follow these steps to insert one or more pictures of an item:
- From the pull-drawers of Bravo click on “Resources”
- Click on “Items”
- Double click on the chosen item sheet
- Click on “Edit”
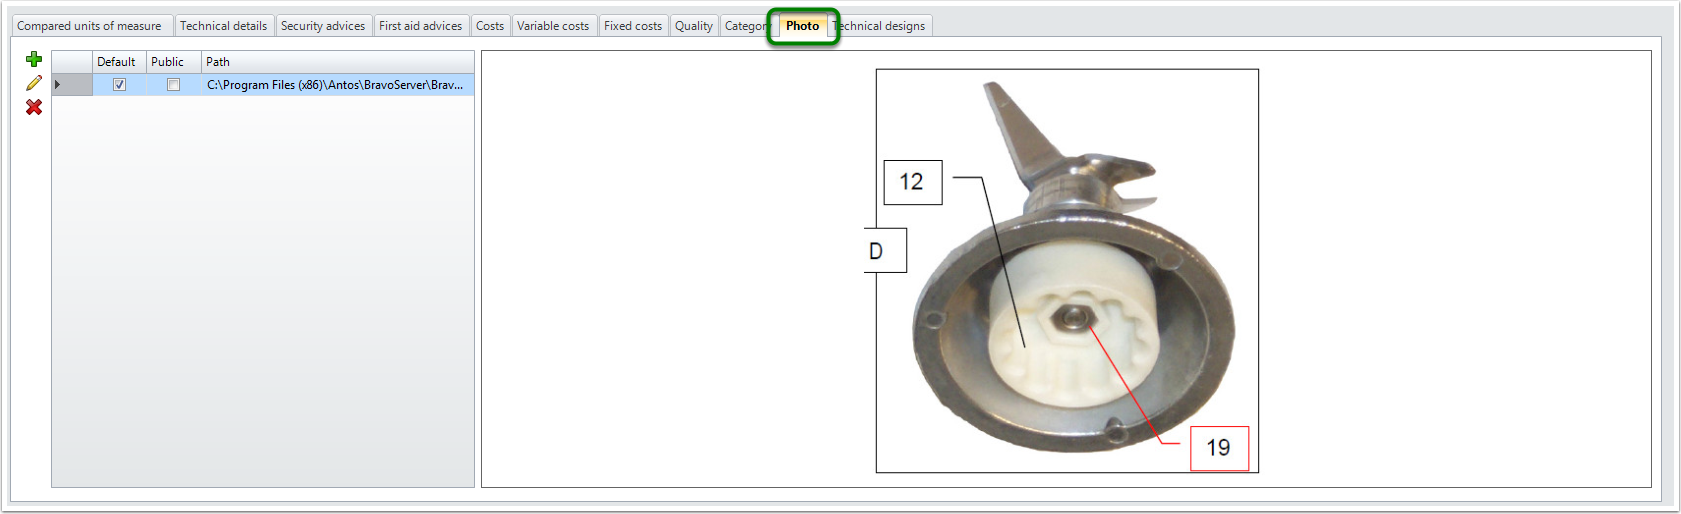
- Select the sheet “Photo”
- Click on the button "+"
- Insert the details of the picture in the “Item’s photo” box
- Click on the “Research” button
- Select the picture chosen
- Set the tick on the selected option
- Click on “Save”
- Click on “Save” at the top, on the left
To edit the insertion of a picture click on “Edit”, on the other hand to delete the insertion click on “Delete” (X).
During the insertion of the picture is possible to set the tick on two options:
- Public photo: it is a picture which can be printed with the other pictures of the same item
- Default photo: it is the selected picture to print
Comments